1. Essential Component Selection and Compatibility Planning
Your CPU choice literally determines everything else in your build - it's like picking your main character before entering a game. AMD's Ryzen 7000 series and Intel's 13th gen processors dominate 2025, but here's the thing nobody tells you: the CPU socket dictates which motherboard you can use, and that motherboard limits your RAM speed, storage options, and upgrade path.
Start with your motherboard chipset compatibility, not just the CPU. An AMD B650 board supports different features than X670, even with the same processor. Intel's Z790 chipset unlocks overclocking while B760 doesn't. This affects your future upgrade options more than you realize right now.
RAM compatibility gets messy fast. Your motherboard's QVL (Qualified Vendor List) shows tested memory kits that actually work at advertised speeds. Ignoring this list is like following a recipe without checking if you have the right ingredients - technically possible but probably disappointing.
Power supply wattage calculation matters more in 2025 because modern GPUs spike power consumption unpredictably. Your RTX 4080 might pull 400W during gaming but spike to 500W for milliseconds. Use online PSU calculators and add 20% headroom. An 850W PSU for a 700W system prevents crashes and extends component lifespan.
PCIe lane distribution affects everything. Your GPU needs 16 lanes, M.2 SSDs steal 4 lanes each, and additional cards compete for remaining bandwidth. Plan your storage and expansion cards before buying anything.
2. Pre-Assembly Preparation and Safety Protocols
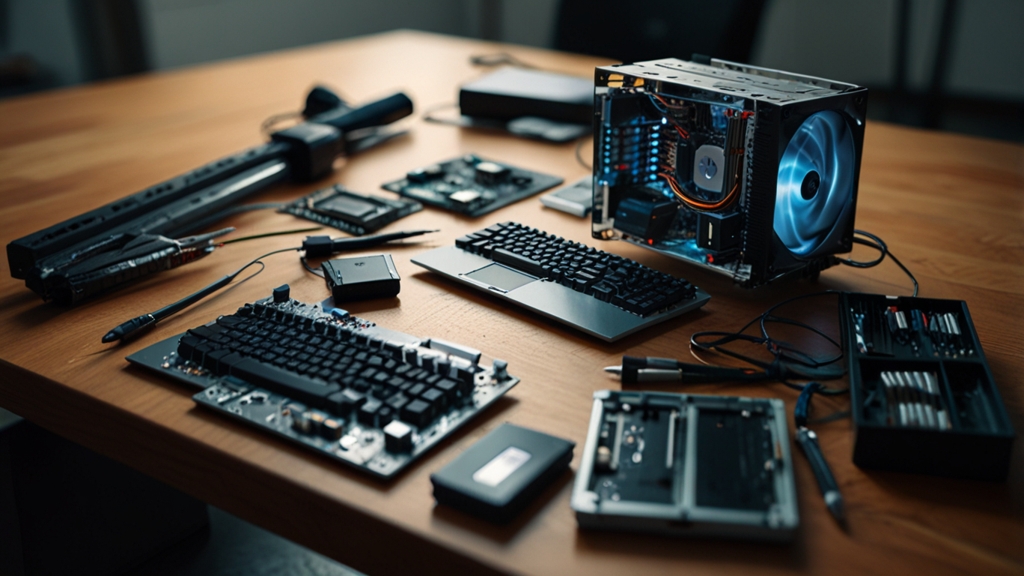
Before you touch a single component, clear your workspace and gather your tools. You need a magnetic Phillips head screwdriver, an anti-static wrist strap, and good lighting. That kitchen table isn't going to cut it - find a large, clean surface where you can spread everything out without playing Jenga with expensive parts.
Static electricity is your PC's worst enemy, and it's lurking everywhere. Touch a grounded metal object every few minutes, or better yet, wear an anti-static wrist strap connected to your case. Carpeted rooms are danger zones - work on hard flooring if possible. That little zap you barely feel can fry a $300 CPU instantly.
Unbox components systematically and keep everything organized. Place CPUs and RAM in their anti-static bags until you're ready to install them. Read your motherboard manual before starting - seriously, don't wing this part. Each board has specific requirements for RAM placement and cable connections that aren't obvious. Following proper gaming PC building protocols prevents costly mistakes that could brick your entire build.
Set realistic time expectations. First-time builders need 3-4 hours minimum, not including troubleshooting. Don't rush - a $50 motherboard replacement beats a $500 mistake. Keep your phone handy for quick component manual lookups, and have good lighting so you can actually see what you're connecting. Those tiny connectors don't forgive fumbling in the dark.
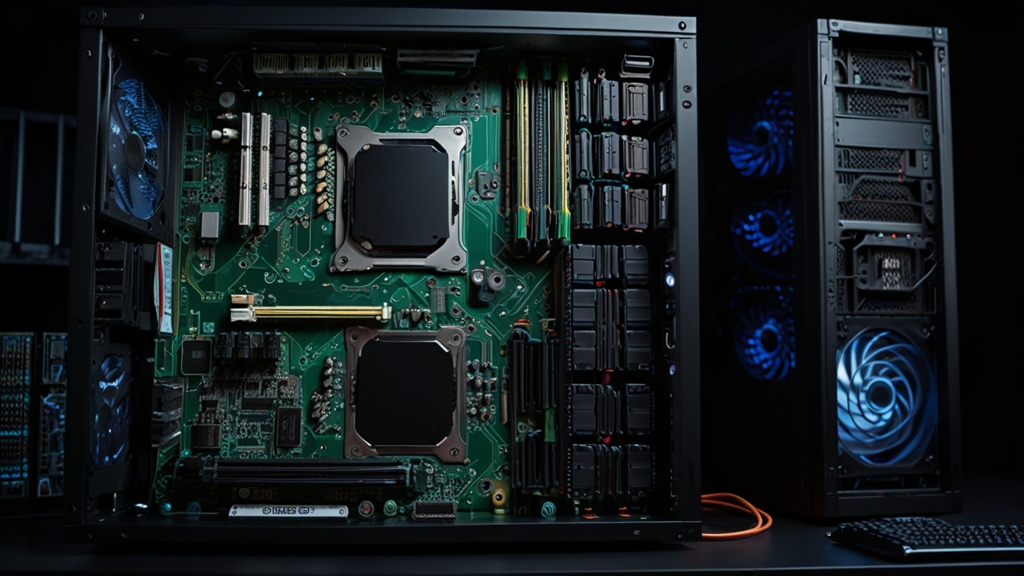
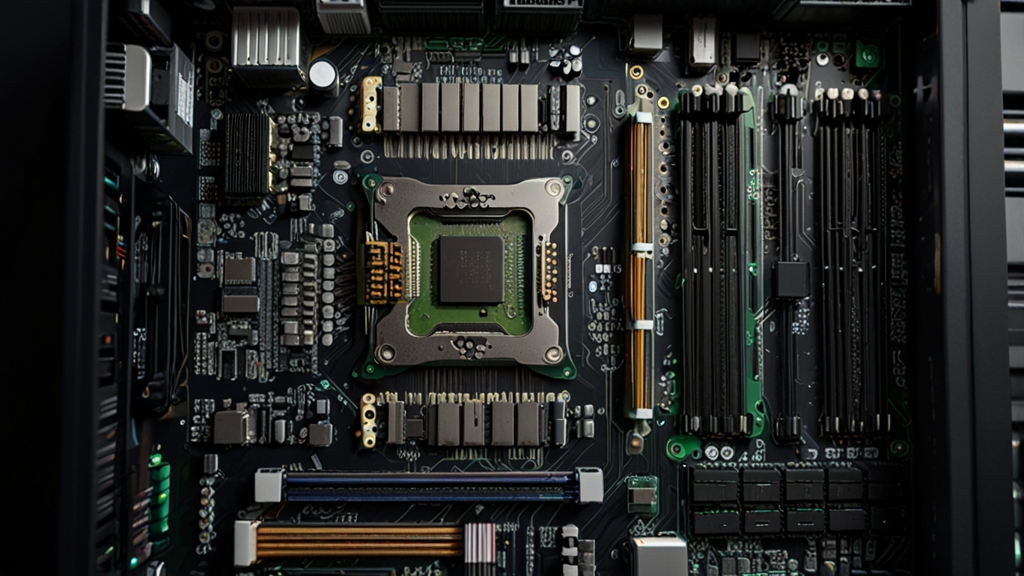
3. Motherboard Assembly and CPU Installation Process
Installing your CPU is basically the most nerve-wracking part of building a PC, but it's actually harder to mess up than TikTok makes it seem. Start by opening your CPU socket on the motherboard - there's usually a lever or retention arm that lifts up. Your CPU will only fit one way, so look for the triangle or arrow marking that matches the socket.
Here's where people panic: those tiny pins. On Intel chips, the pins are in the socket (not on the CPU), while AMD puts them on the processor itself. Either way, never force anything. The CPU should drop in effortlessly when aligned correctly. If you're pushing, you're doing it wrong.
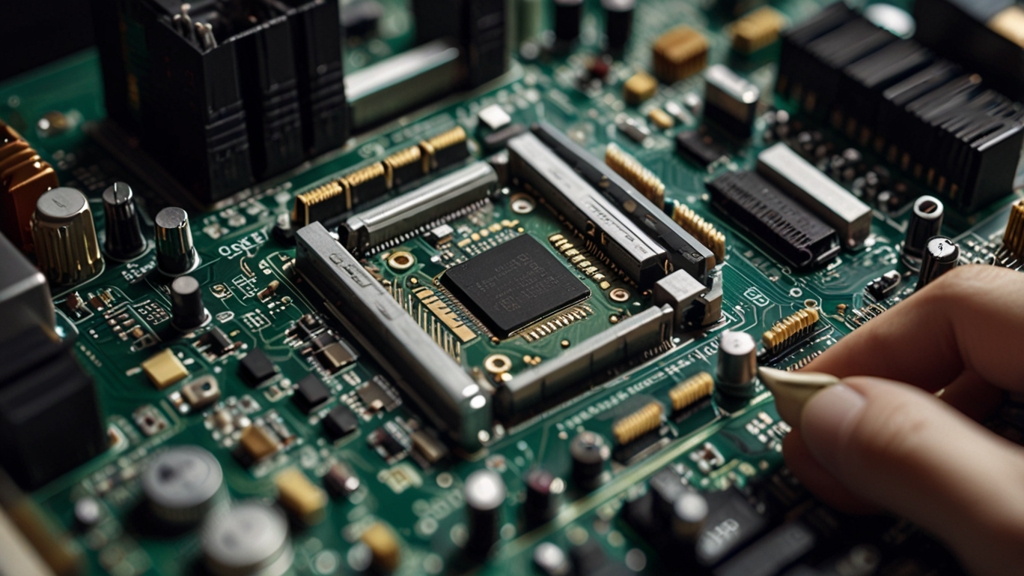
Once your CPU is seated, lower the retention arm - yes, it takes more pressure than expected, and yes, that slight crunching sound is normal. Now for the thermal paste situation. Most CPU coolers come with paste pre-applied, but if yours doesn't, use a rice grain-sized dot in the center. The cooler will spread it when you mount it.
CPU cooler installation varies wildly between models, but the concept stays the same: even pressure on all mounting points. Professional computer builders recommend tightening screws in an X pattern to avoid warping. Don't overtighten - snug is enough. Your CPU temps should idle around 30-40°C if everything's mounted correctly. Much like learning any new technical skill, take your time on this step.
4. Power Supply, Storage, and Graphics Card Integration
Your power supply needs to match your system's total wattage plus 20% headroom for safety. A mid-range gaming build typically pulls 500-650 watts, so grab a 750W unit from reputable brands like Corsair or EVGA. Modular PSUs cost more but let you connect only necessary cables - trust me, your cable management will thank you later.
Storage installation depends on your drive type. M.2 SSDs slide directly into motherboard slots and secure with a tiny screw - no cables needed. Traditional SATA drives require both power cables from your PSU and data cables to the motherboard. Install your operating system on the fastest drive (usually the M.2 SSD) for quick boot times.
Graphics card installation looks scary but it's surprisingly simple. Remove the metal slot covers from your case first, then firmly press the GPU into the top PCIe x16 slot until it clicks. Most modern cards need 6-pin or 8-pin power connectors - don't skip these or your system won't boot. High-end cards like RTX 4080 require two 8-pin connections.
Power management matters more than most builders realize. Connect the 24-pin motherboard power first, then the 8-pin CPU power near the top-left corner. Your computer builders guide should emphasize proper cable routing for airflow. Finally, double-check all connections before powering on - loose cables cause 90% of "dead" builds that just needed better connections. Making informed decisions about component integration requires the same methodical approach as choosing reliable professionals for specialized tasks.
5. Cable Management and Airflow Optimization Techniques
Your PC's cable management isn't just about aesthetics - it's literally affecting your system's performance and lifespan. Messy cables block airflow, trap heat, and can cause your components to throttle or fail prematurely. Start by routing your 24-pin motherboard power cable behind the motherboard tray, then bring it through the closest cutout to minimize obstruction.
Group cables by function and secure them with zip ties or velcro straps every few inches. Route all SATA cables along the bottom edge of your case, and keep GPU power cables as straight as possible to avoid kinking. The goal is creating clear airflow paths from your intake fans to exhaust fans without cables creating turbulence.
Airflow optimization follows a simple rule: cool air in from the front and bottom, hot air out through the top and rear. Position your intake fans to pull fresh air directly over your GPU and motherboard, while exhaust fans remove heated air from your CPU cooler area. Positive pressure (slightly more intake than exhaust) prevents dust buildup by forcing air out through filtered paths rather than random gaps.
Test your airflow by holding a tissue near different case openings while the system runs - you should feel consistent directional movement. Professional PC builders recommend maintaining at least one inch of clearance around major components and avoiding cable bundles thicker than your thumb in high-airflow zones.
6. First Boot Setup and Operating System Installation
The moment of truth hits different when you press that power button for the first time. Your system should display the motherboard logo and boot into BIOS automatically. If nothing happens, don't panic - check your power connections and RAM seating before assuming the worst.
BIOS setup requires minimal tweaking for most builds. Enable XMP/DOCP in memory settings to run your RAM at advertised speeds instead of default slow speeds. Set your M.2 SSD as the primary boot device under boot priority. Save changes and exit to prepare for OS installation.
Windows 11 installation takes 20-30 minutes with a decent SSD. Create installation media using Microsoft's Media Creation Tool on another computer, then boot from your USB drive. Select custom installation and choose your primary SSD as the destination. The system will restart multiple times during setup - this is normal.
Post-installation priorities matter more than you think. Install motherboard chipset drivers first, then GPU drivers from NVIDIA or AMD's website. Windows Update handles most other components automatically. Your first successful boot feels like winning the lottery, especially when you see that desktop appear. Just like learning how to make something from scratch, the satisfaction of building your own system hits different than buying pre-built.